Digitally Inking Sketches with Inkscape and GIMP – Part 2
December 2, 2007
Step 6: Profit?
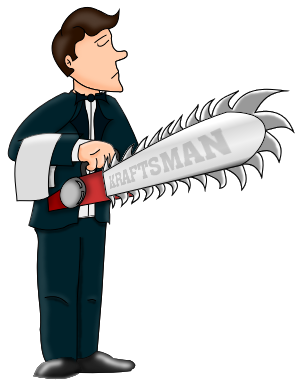
So, now that we’re done, here’s what we have:

So, we’ve created a single image fit for the sidebar of the Buffet. And this image will scale up and down pretty well within reasonâ€â€for example, I used this image to create the 100 x 100 pixel Maitre d’ avatar icon just by scaling it down.
Of course, if I scaled this 300 x 390 pixel image up to fit on a 1024 x 768 pixel desktop wallpaper, I would have a problem. What I’m going to end up with is a pixelated mess. My outlines are probably going to end up being anywhere from three to four times the width of the original image. Under normal circumstances, I’m going to have to completely redo the image of the Maitre d’ from the ground up.
And here we see what makes using paths really nice. I can simply import my original SVG, scale it up to fit my 1024 x 768 image, and then work back through steps 4 and 5. It’s a lot of work, and the highlighting isn’t going to come out exactly the same, but what I’ll end up will look like it was made for the larger image size, rather than something scaled up to fit.
(On that note, eventually, I am going to create some Chainsaw Buffet wallpapers. eventually. I’m just really lazy.)

